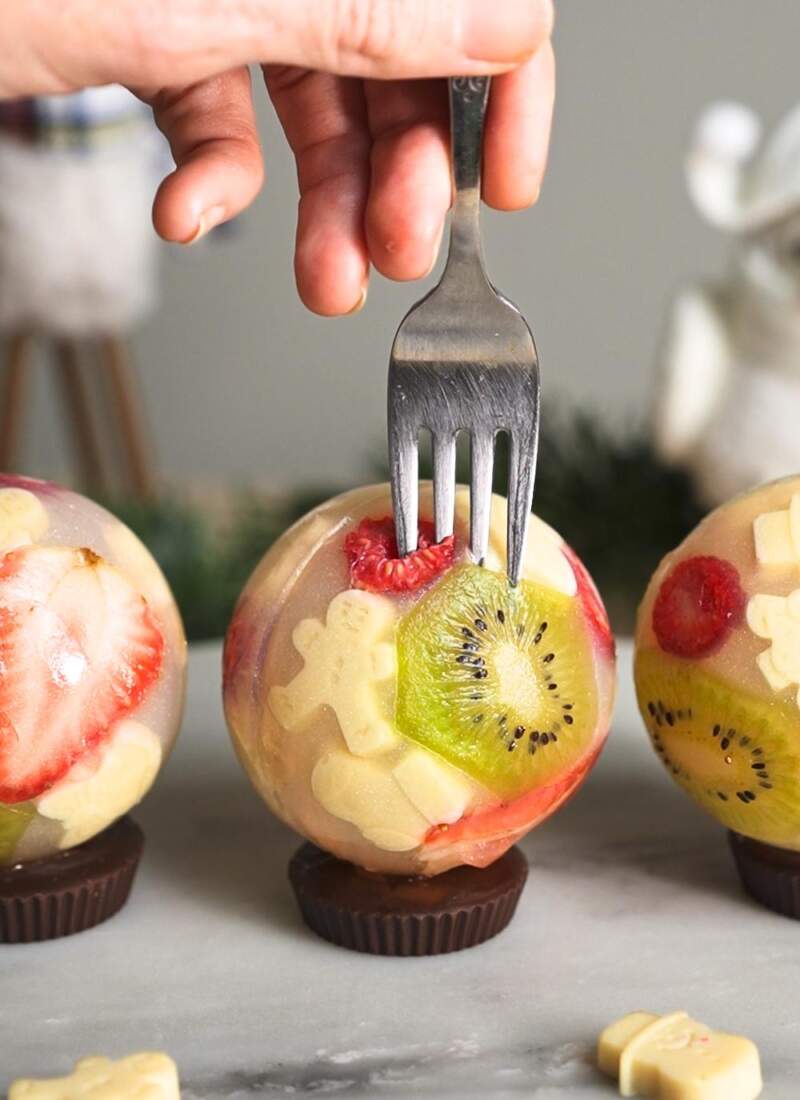
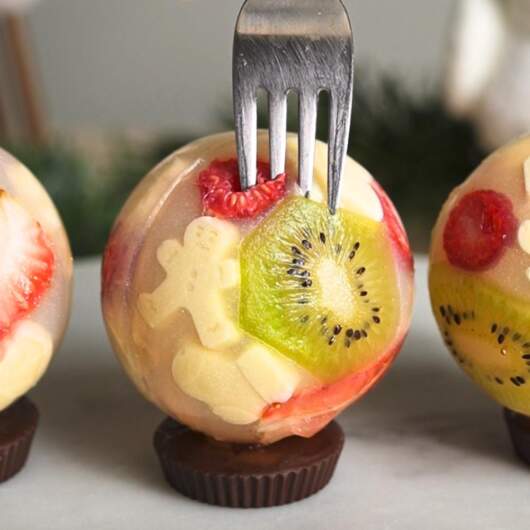
Bring the joy of the holidays to your table with whimsical and festive snow globe jelly. This refreshing and light dessert doubles as an enchanting holiday centerpiece. In this blog post, we’ll guide you through the steps of crafting these edible snow globe jellies. They are delightful to make and are the perfect option if you are looking for a healthy holiday dessert.
Shopping List:
Gather your ingredients and tools for a magical culinary adventure. Click the links to see the products I used to create my snow globe jellies.
- Agar agar powder ( vegan, gluten-free, and kosher-friendly!)
- Assorted fruit ( Use red, green, and gold fruits if you’d like a classic Christmas look)
- Chocolate peanut butter cups (these are plant-based and gluten-free)
- Lemon or fruit extract
- White or light-colored sugar
- Soy milk, almond milk, or juice
- Toothpicks
- Dome silicone sphere mold
- Holiday-themed silicone mold
- White edible glitter (this glitter is vegan and gluten-free)
- Cups or glasses of the same size to support the dome mold

How to Make:
Follow these steps to make your very own snow globe jellies. Feel free to customize it to your liking!
Step 1: Crafting Mini Holiday-Themed Fruit Jellies
Begin by creating the mini fruit jellies that will be the heart of your snow globe jelly. Combine milk or juice with agar agar, bringing the mixture to a gentle boil until the agar completely dissolves. After dissolving, pour this liquid jelly into holiday-themed molds and allow it to chill in the fridge. Once the jellies firm up, gently release them from their molds, revealing the charming shapes that will soon be encased in your snow globe jellies.
Step 2: Preparing the Fruit
While your jellies set, slice an array of vibrant fruits into delicate, thin pieces. I opted for red and green fruits for a classic Christmas touch. These fruit slices will add a burst of color and flavor to your snow globe jellies.

Step 3: Dome Preparation
For a flawless finish, strategically place plastic cups under your dome silicone mold, this will prevent indentation marks. Fill the mold with your fruity jellies and carefully arrange the sliced fruit, creating a visual feast for the eyes. Pop the mold into the freezer while prepping the next jelly.
Step 4: Crafting the Snow globe Jelly
The star of the show is the snow globe jelly itself. In a pot, blend water, agar agar, sugar, and a hint of lemon or fruit extract to taste. Bring this concoction to life on the stove, stirring until the agar agar dissolves. After a brief cooldown, introduce a touch of edible white glitter and whisk until it looks like it is snowing.
Step 5: Pouring the Liquid Magic
Now, it’s time to pour this shimmering jelly into the molds. Pour half of the dome-shaped molds to the brim and the other half a few centimeters below the top. Save the remaining jelly for later. Allow the molds to set in the fridge, preparing for the grand finale.
Step 6: Unveiling the Snow globes
Gently remove the silicone dome mold from the fridge once the jelly has cooled. Remelt any leftover snow globe jelly and gently remove the dome-shaped jellies that were filled to the brim. Pour the melted jelly into the remaining domes, filling them to the brim. Top them with the domes that were just removed. Let the snow globe jelly set for the last time in the fridge.

Step 7: The Grand Finale
With great care, release the snow globe spheres from their molds, using a butter knife to tidy up any excess jelly along the seam. Now, for the base: insert a toothpick into the center of a chocolate peanut butter cup, connecting it to the center of the jelly sphere. Behold, your festive snow globe jelly is ready to be enjoyed!
Tips:
- If your jelly firms up prematurely, fear not. Simply warm it on the stovetop and whisk until it regains its fluid charm.
- Seal the snow globe jellies in a container and store it in the fridge for up to one day.
Additional Playful Recipes
Enhance your holiday spread with more whimsical and playful recipes to complement your Grinch Charcuterie Board. Explore the delightful recipes below:
- Festive Fruit Christmas Tree: Create a dazzling centerpiece for winter holiday events with a festive fruit Christmas tree. Not only is it simple to make, but it’s also a healthy and refreshing addition to your spread.
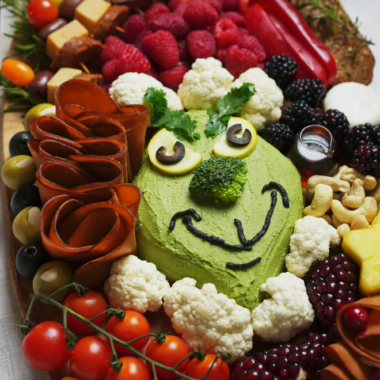
- Grinch Charcuterie Board: Make this upcoming holiday extra memorable with a Grinch-themed charcuterie board filled with our cilantro-serrano hummus. This festive and creative spread will steal your guests’ hearts and bring a touch of Whoville magic to your holiday celebrations.

Conclusion:
Embark on this delightful journey of creating snow globe jelly and bring a touch of magic to your festive celebrations. These snow globe jellies double as a refreshing dessert and a festive table centerpiece. Share the joy with friends and family as you savor each enchanting bite. Happy holidays!
Snow Globe Jelly
Course: Dessert, Table CenterpieceDifficulty: Medium3-6
servings50
minutes2
hours45
minutesBring the joy of the holidays to your table with these whimsical and festive snow globe jellies. This refreshing and light dessert doubles as an enchanting holiday centerpiece.
Ingredients
Agar agar powder
Assorted fruit
Chocolate peanut butter cups
Lemon juice or fruit extract
White or light-colored sugar
Soy milk, almond milk, or juice
- Other Necessary Items
Toothpicks
Several same-sized cups/glasses to place under the dome mold
Directions
- Prepare Mini Holiday-Themed Fruit Jellies: Combine milk or juice and agar agar in a saucepan. Use 1 1/4 tsp of agar agar per cup of liquid (increase to 1 1/2 tsp for highly acidic juice).
Stir and bring the liquid to a boil, cooking until agar is fully dissolved (3-5 minutes). Allow the jelly to cool for 10 minutes, then pour into molds. Place in the fridge.
Once firm (7-20 minutes), remove the fruit jelly molds. - Slice and Prepare Fruit: Slice desired fruit into thin pieces.
- Prepare Domes: Place plastic cups under the dome silicone mold on a cutting board or small baking sheet to avoid indents. Fill the dome mold with jellies and sliced fruit, ensuring it doesn’t spill over. Freeze.
Make Snow Globe Jelly: In a pot, combine water and agar agar (1 1/4 tsp per cup of water).
Add sugar and lemon or fruit extract to taste. Bring to a boil, stirring frequently for 3-5 minutes until agar agar is fully dissolved.
Let the jelly cool for 10-30 minutes, then add a pinch of edible white glitter and whisk to combine.- Pour Liquid Jelly into Molds: Pour half of the molds to the brim and the other half a few centimeters below the top. Save the remaining jelly for later. Place the mold in the fridge.
- Remove Silicone Dome Mold and Fill: Once the jelly is cool to the touch (about an hour), remove the silicone dome mold from the fridge.
Remelt the leftover snow globe jelly or make a little more. Remove the domes filled to the brim from the mold.
Pour jelly into the domes filled below the rim, filling them to the top. Place the removed domes on top. Let the jelly firm. Refrigerate for 20 minutes. - Remove Spheres from the Mold: Use a butter knife to remove any excess jelly along the seam.
Place a toothpick into the center of a chocolate peanut butter cup and the other end into the center of the jelly sphere. Your snow globe is ready to enjoy!
Notes
- If the jelly firms up before pouring it into a mold, heat it on the stovetop and whisk until melted.
- Store in the fridge in a sealed container for up to one day.

